| ILFORD Electronic Darkroom Equipment |
|
|
|
|
The following images have been sent to me by Roger Gittins of the Mobberley Village Society. They are of items of darkroom equipment sent to the society by Michael Dale, an ex-Ilford employee. They show how sophisticated solid state electronics had penetrated most aspects of life by the early 1980s. Microprocessors were by then a common part of many consumer electronic items, offering a flexibility and accuracy of use hardly dreamt of just ten years previous. |
|
|
|
|
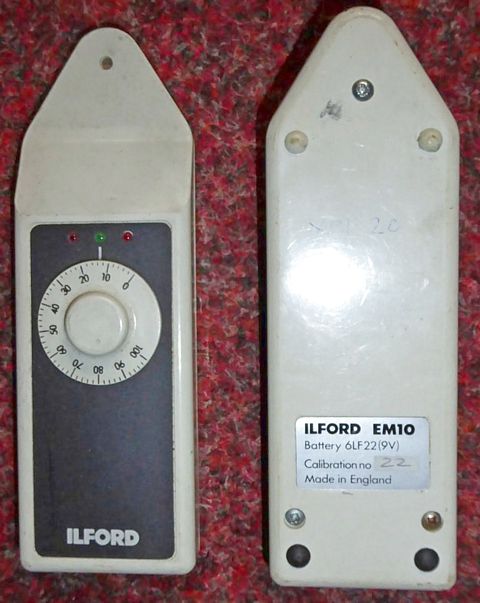 Priced at £11 by Fishwick's in their Nov.1982 catalogue and £13 by Tecno in a UK Dec.1985 AP advert |
The EM10 enlarging exposure monitor (exposure meter) appears to have been on sale until relatively recently (2014). A recent asking price, new, was £45. As described on the Ilford Photo website: The monitor is easy to use. Once calibrated - exposure determination from one slide to another, or from one black and white or colour negative to another - is simply a matter of measuring the light level of a particular area of the image, and then varying the enlarger lens until the green LED on the exposure monitor is lit. (The centre LED is green, with red LEDs on either side). The light sensitive cell on the monitor is positioned so it is close to the enlarger baseboard during use, and accurately measures the amount of light received by the paper. It operates with either a Duracell MN1604 (6LF22) or aPP3 (6F22) battery (or a rechargeable nickel cadmium battery). Calibration; can be done by using one of two methods. 1. Select a slide or a negative,
typical of those you wish to print. |
|
Method Two, If you have a slide or negative of known exposure for a particular enlargement:- 1. Place the negative or slide
and any filtration used in the enlarger. Adjust the degree of
enlargement and lens aperture to match your exposure data. The EM10 in Use:- |
|
|
|
|
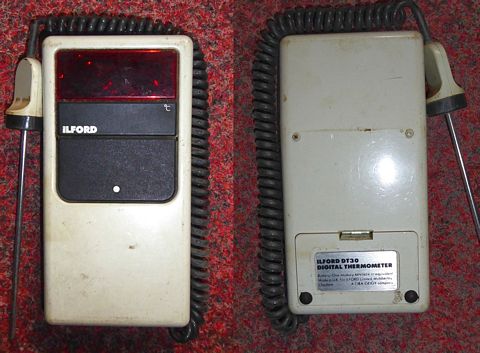 |
The Ilford DT30 has an operating range of –50°C to 150°C to an accuracy of 0.3°C. A four digit LED display gives a stabilised reading after 15 seconds immersion of the probe in whatever processsing solution is to be monitored. It uses a 9V battery. The probe is most likely a mV generating thermocouple or perhaps works via a variable resistance probe sensitive to temperature. The American magazine Popular Photography had it priced at 65$ in November 1983. Dragonmeister (thanks for being in touch) tells me he has acquired one in its original box, that the original owner purchased from the Euro Foto Centre, with a price sticker of £50.42 (but with no indication of date). He says "it still works fine (July 2015) having checked it against another digital thermometer and my original glass one from the 1960's". |
|
|
|
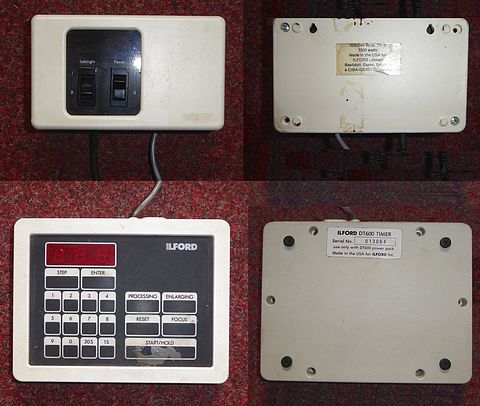 |
This picture to the left shows the DT600 Timer (front and back; lower images) and its 1300watt power supply (front and back, upper images). Made in the USA for Ilford Ltd, Basildon, Essex, England. A Ciba-Geigy Company.
The following edited notes come from the camerashopnbuy website. User programmable over a time period of 0 to 9mins&59secs for each of 10 steps. Works both as an enlarging timer and for darkroom processing. It has a punch card system with a reader that you can plug into the timer (see below) so you can pre-punch your more common process times and steps and then just ‘swipe’ the card through the reader to instantly program the timer. |
| In the UK by the
mid-1980s it was variously priced in the range £90-£100.
The Fishwick's catalogue for Nov.1982 has it priced at £86.25,
with extras being a footswitch at £16.95 and five extra
punchcards, at £3.85. By December 1985 Tecno priced it at very nearly £100, a price increase that was perhaps caused by a change in the US$ to UK£ exchange rate in the early 1980s. |
|
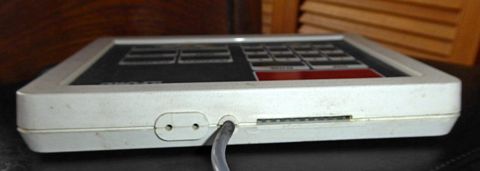 Picture showing the edge of the DT600. The slot is the electrical comnnector for the punch card reader, see right. |
 |
|
|
|
|
|
|
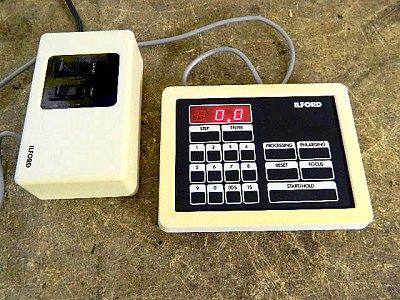 The
one shown alongside was available for sale second hand at SDS,
Second Hand Darkroom Supplies, in 2014 for £140.