| Johnson-Disney Mark 1 Film Strip Projector Repair |
|
|
|
| The following
notes are based upon a more detailed document written by Gavin
Ritchie, repairer of the Disney Mark 1 lantern (projector) shown
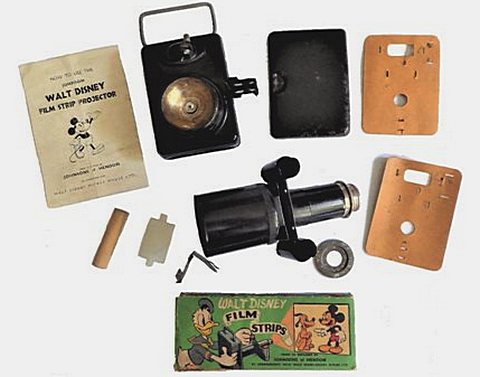
on this web page. The lantern projector came from Keith Cutting (via this website author) as an assortment of parts and, although the parts included an instruction leaflet, it did not show even how to insert the battery, let alone connect up the various parts. Below is shown what was received: |
|
 |
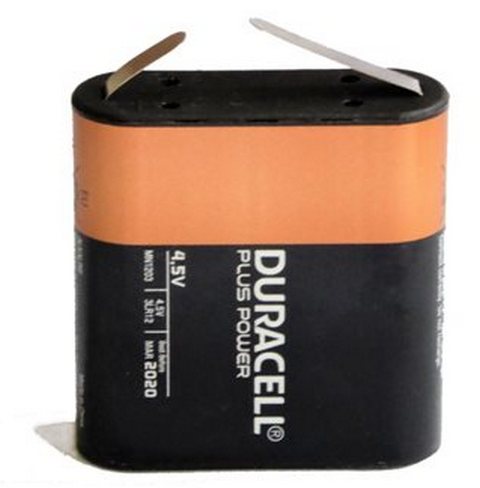
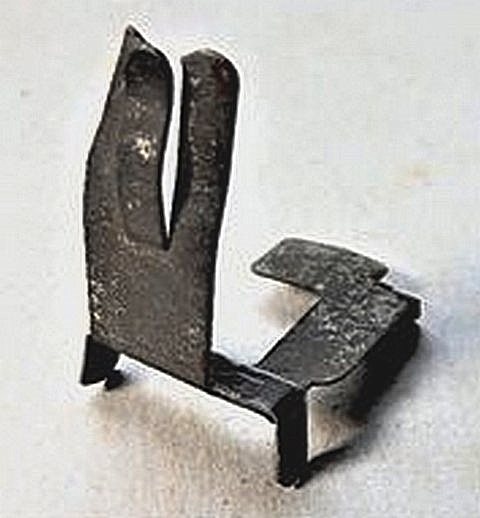
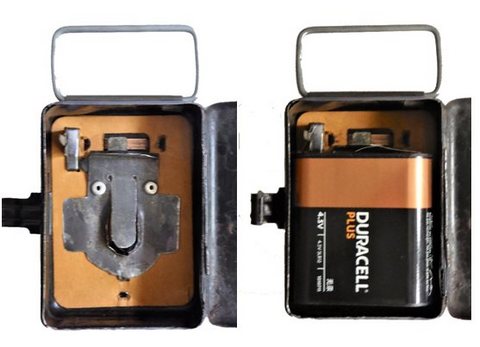
The only thing inside the battery compartment was a metal strip which rises when the switch on the front of the torch body is moved to one side. The instruction leaflet says that the battery is "the type used being a standard 3-cell pocket lamp battery and 3½ volt bulb, preferably obscured". This website author had found a non-obscured 3½ volt screw thread bulb and had sent it with the other parts. It wasn't clear, after 70 years, what type of battery was being referred to, but via an Internet search, a diagram of the battery was found together with instructions on how to bend the terminals: 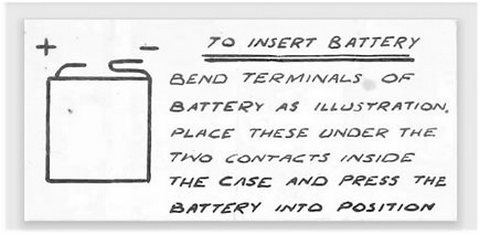 |
 |
 |
 |
 |
|
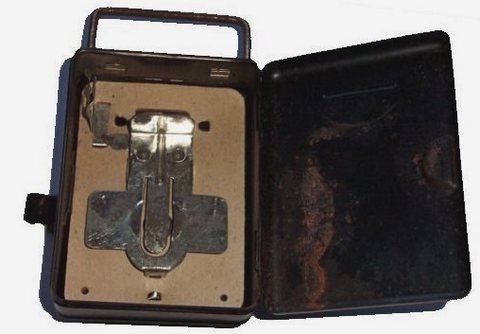
The large rectangular hole near the top of the insulator card is for the switch contact, which connects with a brass strip which rises when the switch on the front of the lantern is pushed to the 'on' position. This connects the positive side of the battery to the metal of the torch body and hence to the screw surround of the bulb. The screw end terminal of the bulb is intended to be in permanent contact with the cross-shaped metal plate (see internal battery compartment picture above), but this plate was entirely missing from the parts supplied. This metal plate connects with the negative terminal of the battery. Based on the picture found on the internet of the internals of the battery compartment, Gavin drew out a similar cross-shaped connector onto paper and then glued this to a thin piece of sheet steel ready for cutting to shape using a fret saw, as can be seen below. |
|
|
together with the positive terminal clip. 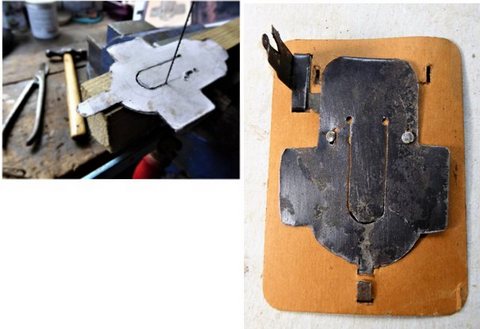 |
 |
|
Some straightening was required to the lens tube in the region of the film 'gate', as it was originally drooping downwards, presumably due to excessive force being applied when sliding the bright metal lens tube in and out, as required for focusing the screen image. 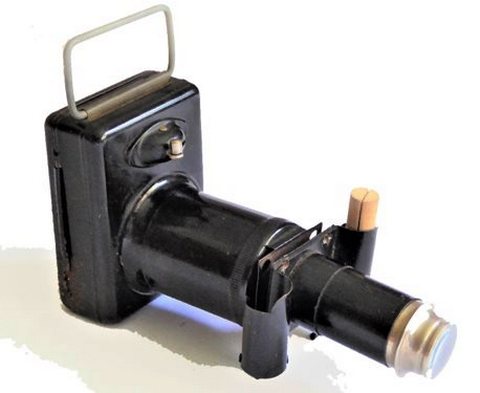 |
The filmstrips are printed on cellophane rather than being photographic film, but, with a good white screen and a new battery in the projector, the image is reasonably clear.  The name of this instrument changed from 'Lantern' in the late 1940's to 'Projector' in the early 1950's. "I decided that 'our' instrument was an early one and should have a box saying "Walt Disney Film Strip Lantern" and not a box saying the later "Projector". I have found a lid design for a "Lantern", but not any pictures for the sides of the box. I'll have another look around and if necessary just do the lid. Or maybe relent and do a "Projector" box with lid and sides. Dilemma!" |
|
|
|
|
|
|